Wiring spotlights in your car might seem complicated at first glance, but with the right instructions and a little patience, it’s definitely manageable. In this guide, we’ll explain step-by-step how to wire spotlights in your car yourself and what you need to pay attention to.
What does “wiring spotlights” actually mean?
“Wiring spotlights” simply means connecting additional lights, known as spotlights, to the vehicle’s electrical system. These can be reading lights, footwell lighting, or even ambient lighting in the interior.
Why wire spotlights in your car?
There are many reasons why car owners equip their vehicles with additional spotlights. The most common reason is certainly the desire for more light in the interior. Reading lights for the rear seats or bright trunk lighting increase comfort and safety. Appearance also plays a role: with individually designed ambient lighting, the interior can be enhanced and personalized.
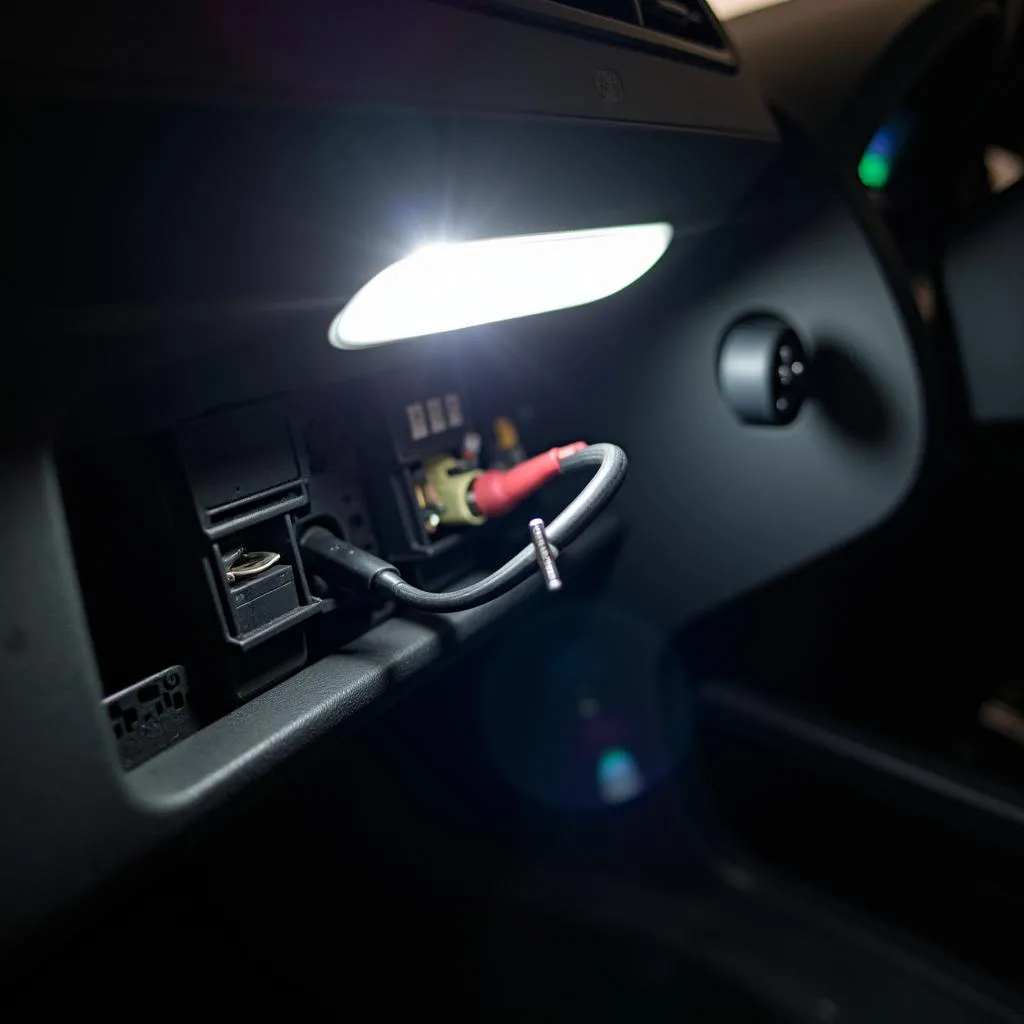 Wiring diagram for car interior lights installation
Wiring Spotlights: Here’s how!
Before you start wiring, you should make sure you have all the necessary materials and tools. These include:
- Spotlights: Choose spotlights that suit your vehicle and your requirements.
- Cables: Pay attention to the correct cable cross-section to avoid overheating.
- Cable lugs: For a secure and reliable connection.
- Heat shrink tubing: For insulating cable connections.
- Fuse holder: To protect the vehicle’s electrical system.
- Tools: Side cutters, wire strippers, crimping pliers, screwdrivers, etc.
Step 1: Planning and Preparation
Before you start wiring, you should create a detailed plan. Consider where the spotlights should be placed and how you will run the cables. Make sure the cables are not in the way and cannot be damaged by sharp edges or hot parts.
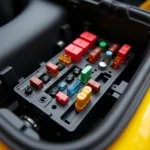
Step 2: Ensure Power Supply
The spotlights require a power source. The easiest way is to tap into the power supply from the fuse box. Use a fuse holder with the appropriate fuse to protect the vehicle’s electrical system.
Step 3: Run Cables
Run the cables from the power source to the spotlights. Secure the cables with cable ties or tape so they don’t hang loose in the vehicle.
Step 4: Connect Spotlights
Connect the spotlights to the cables. Make sure the polarity is correct (+ and -). Insulate the cable connections with heat shrink tubing.
Step 5: Function Test
Before you reattach the trim panels, you should test the spotlights for function. Turn on the ignition and check if the spotlights light up.
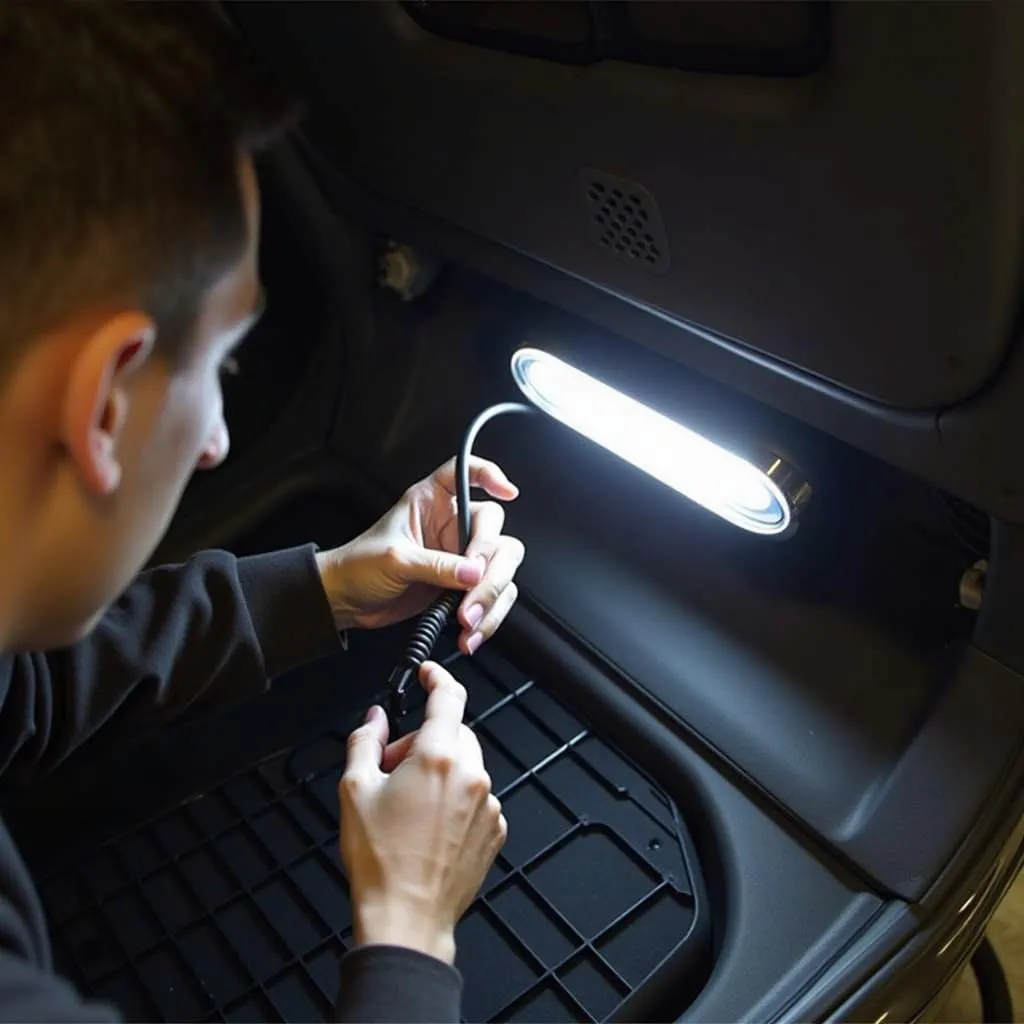 Close-up of LED spotlights being installed in a car
Possible Problems and Solutions
Minor problems can always occur when wiring spotlights. Here are some common problems and their solutions:
- Spotlights do not light up: Check the fuses, cable connections, and polarity.
- Spotlights flicker: There may be a loose contact. Check the cable connections.
- Fuse blows: The fuse may be too weak. Use a stronger fuse or reduce the number of spotlights.
Tips from a Pro
“Good planning is half the battle,” says master car electrician Hans Meier from Berlin. “Before you start wiring, you should carefully consider where the spotlights should be placed and how best to run the cables. This avoids unpleasant surprises and unnecessary work.”
Wiring Spotlights: A Rewarding Project
Wiring spotlights in your car is a project that anyone can do themselves with a little manual skill and the right instructions. With additional spotlights, you increase the comfort, safety, and individuality of your vehicle. If you don’t trust yourself to do the wiring yourself, you can of course also contact a specialist workshop.
Further Questions About Car Electrics?
Do you have questions about wiring spotlights or other topics related to car electrics? Visit our website autorepairaid.com and contact our experts. We are happy to help you!