We’ve all been there, right? You’re driving your Golf 7 and suddenly realize a taillight isn’t working correctly. Before you panic, break the bank, and head to an expensive garage, there’s good news: Changing the taillight bulb on your Golf 7 is surprisingly simple and can be done yourself with a bit of DIY know-how.
Why is a functional taillight so important?
A car’s lighting isn’t just for your own visibility; it’s crucial for the safety of everyone on the road. A faulty taillight presents a significant risk because you can easily be missed in the dark or in poor visibility. “Especially when turning or changing lanes, a functional taillight is essential for making other road users aware of your intentions early on,” explains master mechanic Thomas Schmidt from Hamburg.
Which bulb do I need for my Golf 7 taillight?
Before you start replacing the bulb, you naturally need to know exactly which type is required. The Golf 7 typically uses halogen bulbs. To find the correct bulb, it’s best to consult your vehicle’s owner’s manual. It will provide a precise list of all the bulbs needed.
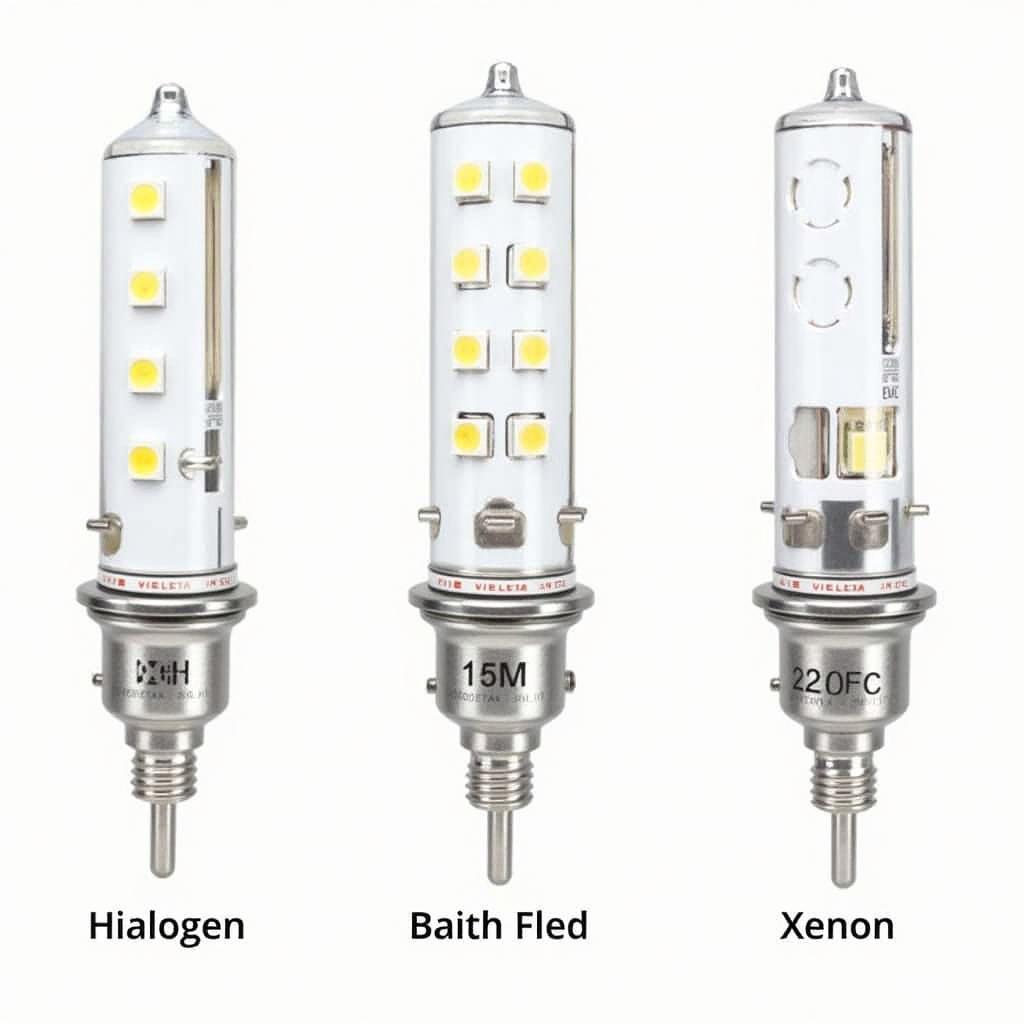 Comparison of Golf 7 taillight bulb types: Halogen, LED, and Xenon.
How to Change Your Golf 7 Taillight Bulb: A Step-by-Step Guide
Once you have the correct replacement bulb, you’re ready to begin. The good news is, you won’t need any special tools to change the taillight bulb on your Golf 7.
Here is a step-by-step guide:
- Park and Secure the Vehicle: Before starting work, park the vehicle on a level surface and engage the parking brake.
- Access the Taillight: To get better access to the taillight assembly, it might be helpful to remove the trunk mat.
- Disconnect the Connector: The taillight is connected to the vehicle’s wiring harness with a connector. You can release this connector by gently pressing the release tab.
- Remove the Old Bulb: The defective bulb can now be released from its socket with a twisting motion.
- Insert the New Bulb: Carefully insert the new bulb into the socket and twist it until it’s snug.
- Reconnect Everything: Reconnect the connector, put the trunk mat back – done!
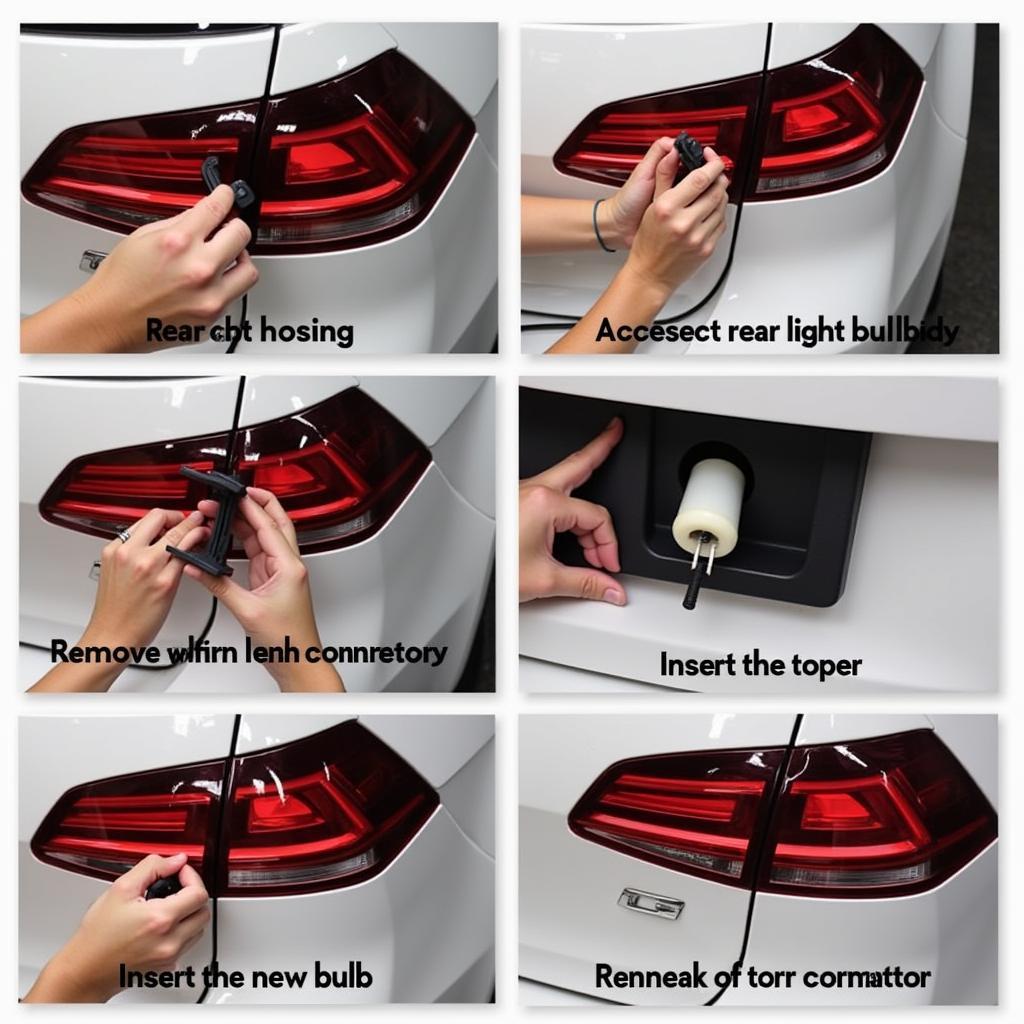 Step-by-step visual guide to replacing a Golf 7 taillight bulb.
What to Watch Out for When Changing the Taillight Bulb?
Although changing the taillight bulb on the Golf 7 is relatively simple, there are a few things to keep in mind:
- Avoid touching the glass part of the new bulb: Fingerprints on the glass can affect the bulb’s lifespan.
- Check the new bulb’s function: After changing the bulb, be sure to check that the new one is working correctly.
- Clean the taillight assembly: If you’ve already removed the taillight assembly, it’s a good opportunity to clean it while you’re at it.
Frequently Asked Questions About Changing the Golf 7 Taillight Bulb
Can I change the taillight bulb myself even if I’m not experienced?
Yes, changing the taillight bulb on the Golf 7 is easily manageable even for beginners.
How much does it cost to have the taillight bulb changed at a garage?
The cost for changing the taillight bulb at a workshop can vary. Generally, you should expect costs between 20 and 50 Euros.
How often do I need to change the taillight bulb on my Golf 7?
The lifespan of a taillight bulb depends on various factors, such as frequency of use. On average, you should change the taillight bulb every 2-3 years.
Conclusion: Taillight Bulb Replacement Made Easy!
Changing the taillight bulb on your Golf 7 is simple and can be done in just a few minutes with our guide. This way, you not only save yourself a trip to the garage but also save money.
Do you have more questions about car repair or need help troubleshooting? On carautorepair.site, you’ll find numerous other articles and guides on vehicle repair. Feel free to contact us if you need assistance – our expert team is here to help!