Planning a road trip and wondering how to pack everything? A roof box is the solution! But commercially available options can be expensive. Did you know you can build your own with a little DIY skill? This article provides a step-by-step guide.
Why Build Your Own Roof Box?
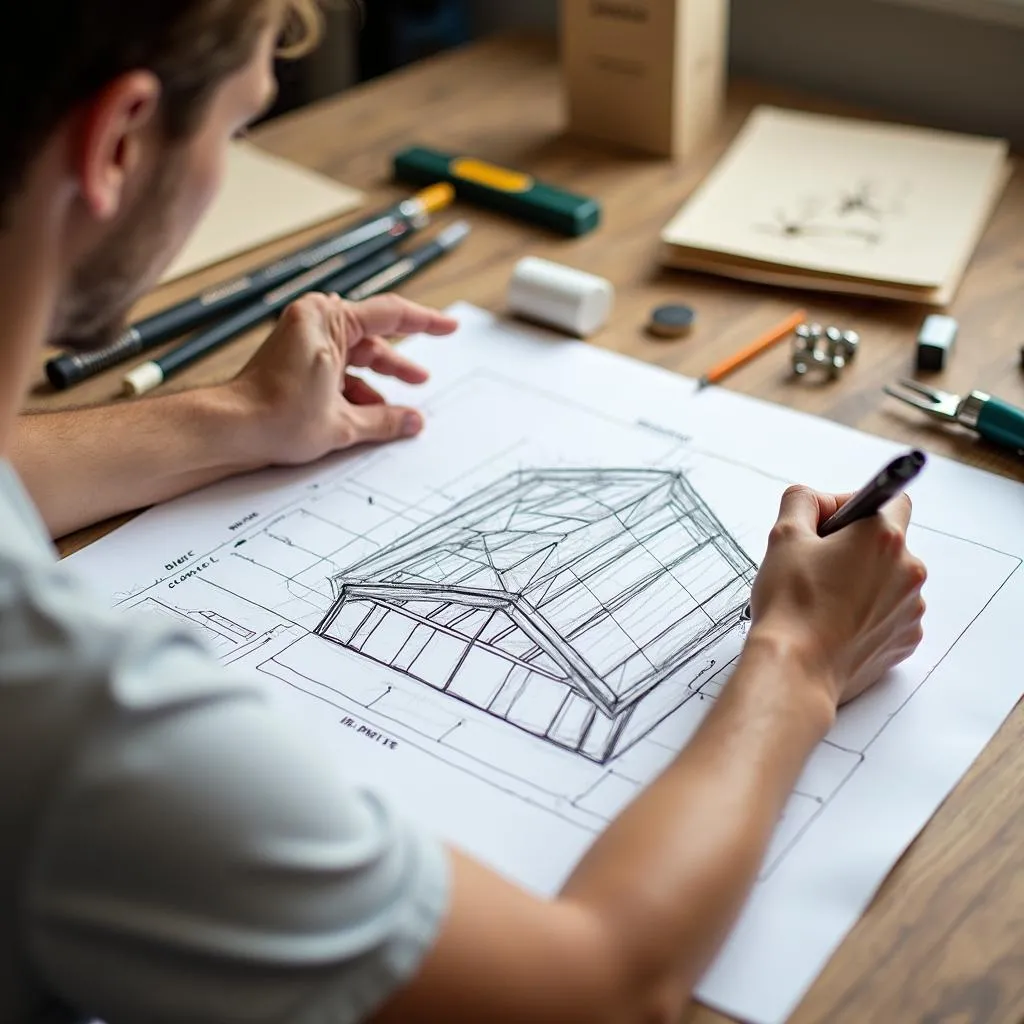 Planning a DIY roof box
“Many of my customers are surprised when I tell them they can build their own custom roof box with a few hundred dollars and some time,” says Karl Schmidt, an experienced auto mechanic from Hamburg. Building your own offers several advantages:
- Customization: You decide the size, shape, and features.
- Cost Savings: Compared to brand-name products, DIY can save you significant money.
- Learning Experience: You’ll enhance your DIY skills and learn more about your car.
Materials You’ll Need
Before you begin, gather the following materials:
- Wood Panels: Waterproof plywood or multiplex boards, approximately 12-15 mm thick
- Aluminum Profiles: For edges and reinforcement
- Roof Rack: Compatible with your car model
- Hinges and Latches: For the roof box lid
- Weatherstripping: To seal the lid
- Primer and Paint: For weather protection
- Screws, Nuts, Washers
- Wood Glue, Sealant
Step-by-Step Guide to Building a Roof Box
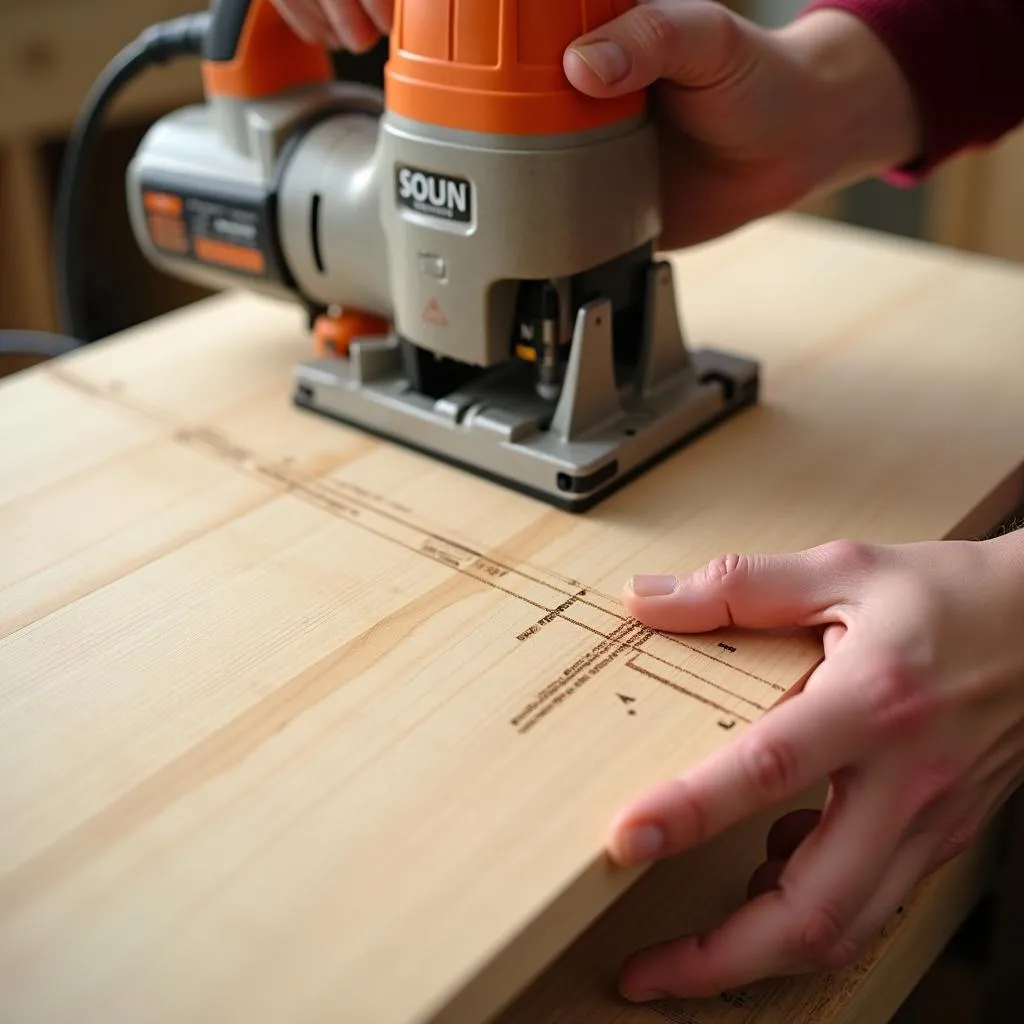 Constructing the roof box with wood panels
1. Planning: Before starting, plan the dimensions of your roof box. Consider your car’s size and your transport needs.
2. Cutting: Mark the individual parts of the roof box on the wood panels and cut them with a jigsaw.
3. Construction: Connect the cut wood panels with wood glue and screws to form a stable body.
4. Edges and Reinforcement: Attach the aluminum profiles to the edges and corners of the roof box for increased stability.
5. Lid: Cut the lid from a wood panel and attach it to the body of the roof box with hinges.
6. Sealing: Apply weatherstripping to the edges of the lid to prevent water from entering.
7. Priming and Painting: Prime and paint the roof box thoroughly to protect it from the elements.
8. Mounting: Attach the roof box to your roof rack using the supplied brackets.
Important Tips for Building Your Roof Box
- Ensure accurate planning and careful workmanship to guarantee the stability and watertightness of your roof box.
- Use high-quality, weather-resistant materials.
- Test the roof box for its load capacity before your first trip.
- Observe the permissible roof load of your vehicle.
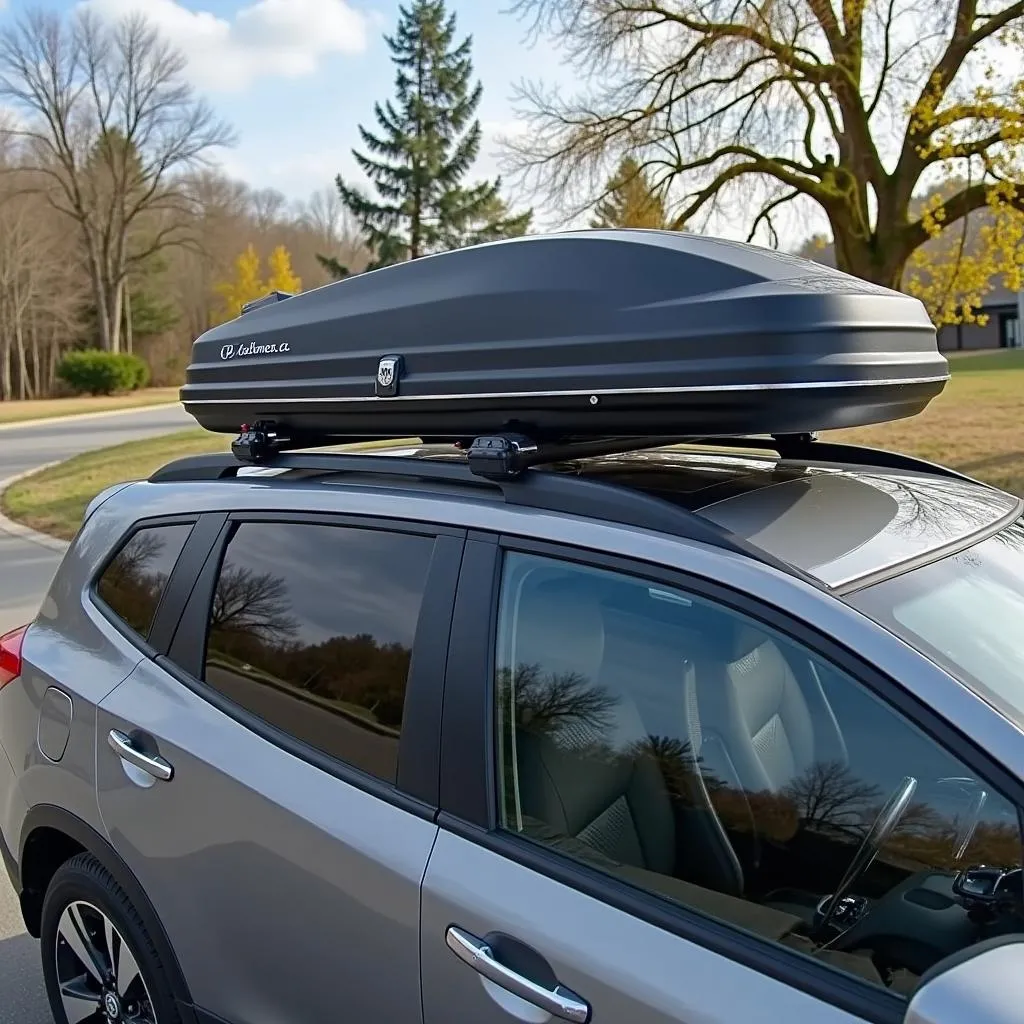 Finished roof box mounted on a car
Conclusion
Building your own roof box is a rewarding project for anyone with DIY skills who wants to expand their transport options. With some time, patience, and the right materials, you can create a custom roof box perfectly tailored to your needs. If you don’t feel confident building it yourself, our experts are happy to help. Contact us through our website – we’re available 24/7!