Hearing a strange squealing when braking? Or feeling a vibration in the brake pedal? These could be signs that your brake pads are worn and need replacing. Many car owners are hesitant to change their brakes themselves. However, with the right instructions and a bit of DIY skill, it’s not that difficult. In this article, we’ll show you step-by-step how to change your brakes yourself and what you need to pay attention to.
Of course, it is important to mention that the brake system is safety-critical. If you are not sure whether you can carry out the brake change yourself, it is better to consult a professional workshop.
Why is Brake Pad Replacement So Important?
Brakes are an essential part of your car. They ensure that you can bring your vehicle to a safe stop at any time. Worn brake pads reduce braking performance and increase braking distance. In the worst case, brake failure can occur, which can have fatal consequences.
When Should You Replace Your Brakes?
The rule of thumb is that brake pads should be replaced approximately every 30,000 to 50,000 kilometers (18,600 to 31,000 miles). However, the lifespan of brakes depends heavily on your driving style and the operating conditions. Drivers who frequently drive in the city or in mountainous areas will need to change their brakes more often than long-distance drivers.
In addition to mileage, there are other signs that may indicate worn brakes:
- Squealing or grinding noises when braking
- Vibrations in the brake pedal
- Vehicle pulling to one side when braking
- Reduced braking performance
- Low brake fluid level
If you notice one or more of these symptoms in your car, you should check the brakes immediately and have them replaced if necessary.
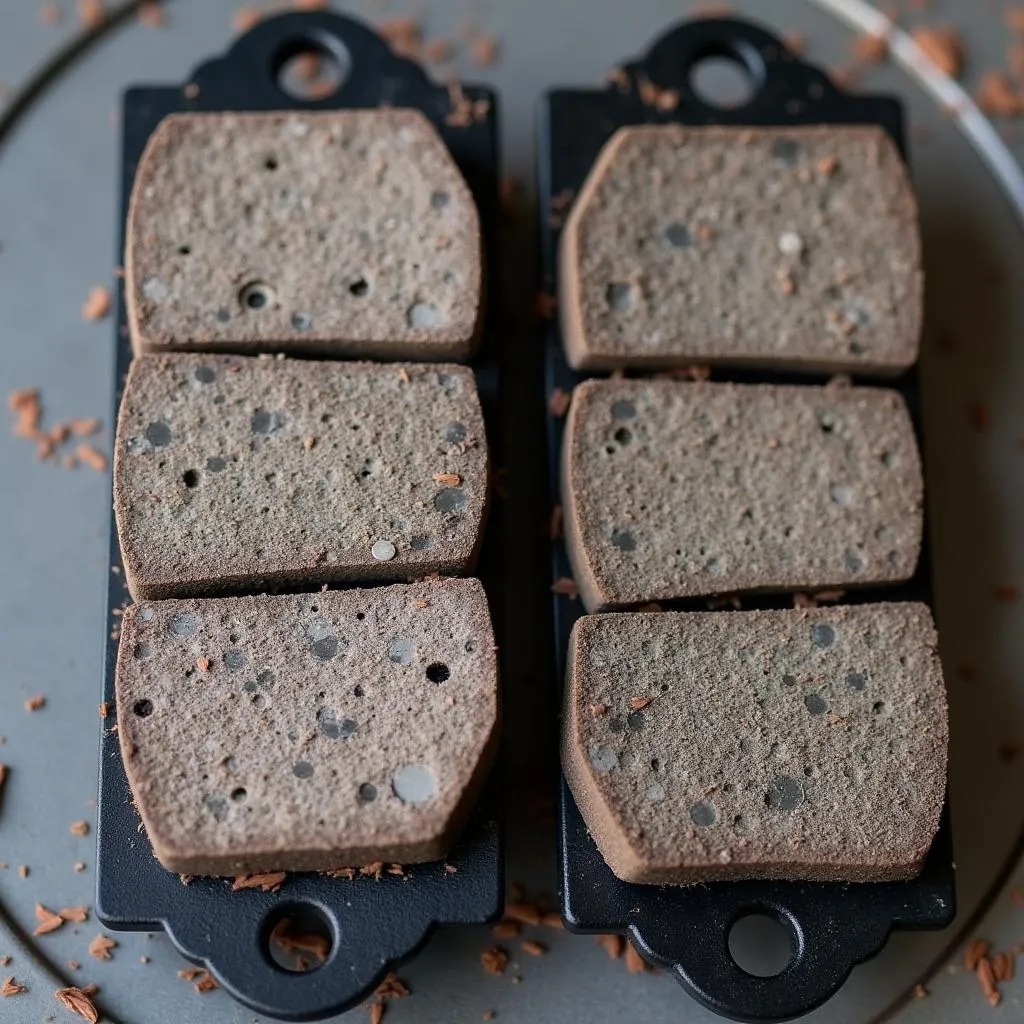 DIY brake pad replacement guide
DIY Brake Pad Replacement: A Step-by-Step Guide
Before you start replacing your brake pads, make sure you have all the necessary tools and spare parts at hand. These include:
- Jack
- Lug wrench
- Screwdriver
- Wrench set
- Wire brush
- Brake paste
- New brake pads
- Possibly new brake rotors
Step 1: Secure the Vehicle
Park your vehicle on a level surface and apply the parking brake. Loosen the lug nuts on the wheel where you want to change the brakes slightly using the lug wrench.
Step 2: Lift the Vehicle
Lift the vehicle with the jack at the designated jacking point until the wheel is hanging freely.
Step 3: Remove the Wheel
Fully loosen the lug nuts and remove the wheel.
Step 4: Loosen the Brake Caliper
The brake caliper is the component that holds the brake pads. Loosen the caliper bolts with a screwdriver or wrench.
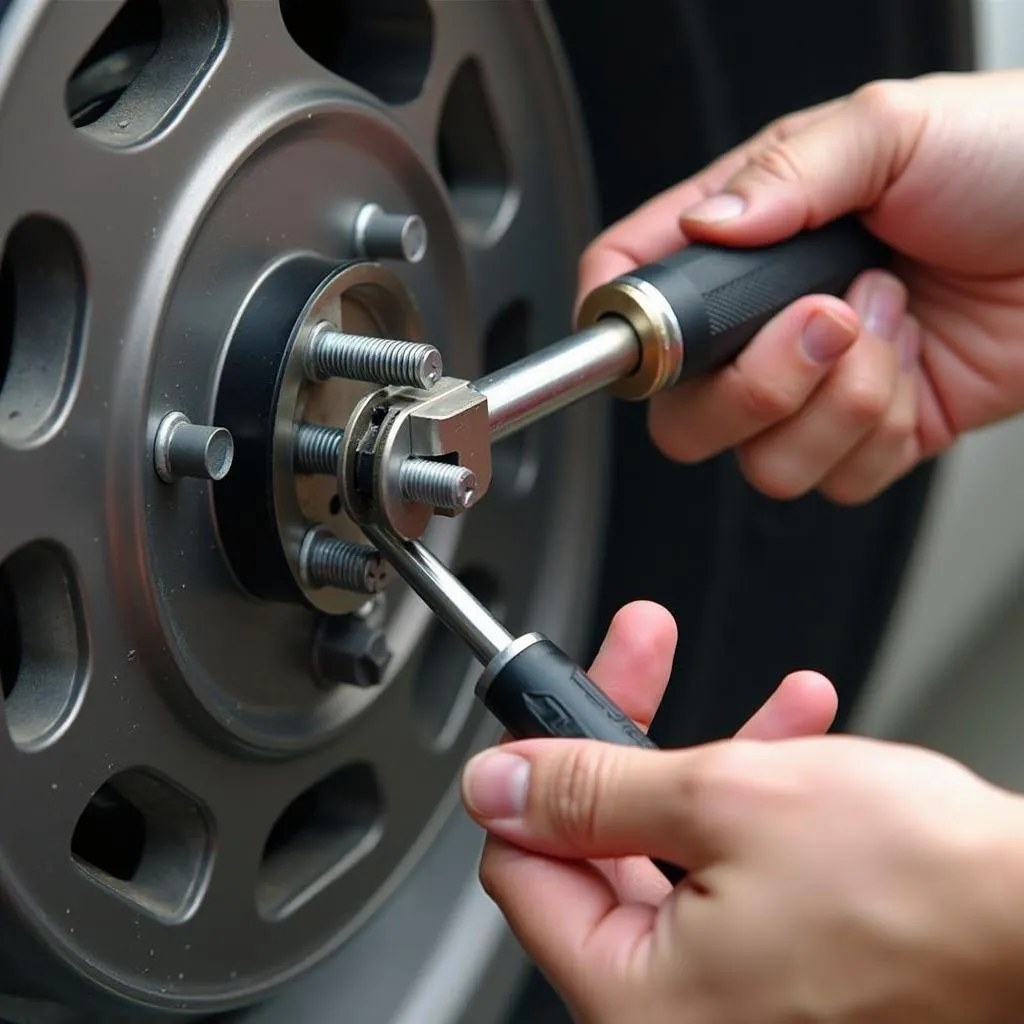 Loosening caliper bolts during brake pad replacement
Step 5: Remove Old Brake Pads
Remove the old brake pads from the brake caliper. Usually, the brake pads are secured with clips or pins.
Step 6: Clean the Brake Caliper
Thoroughly clean the brake caliper with a wire brush to remove brake dust and dirt.
Step 7: Install New Brake Pads
Insert the new brake pads into the brake caliper and make sure they are seated correctly.
Step 8: Mount the Brake Caliper
Mount the brake caliper back onto the wheel carrier and tighten the bolts firmly.
Step 9: Mount the Wheel
Put the wheel back onto the wheel hub and tighten the lug nuts by hand.
Step 10: Lower the Vehicle
Lower the vehicle with the jack and tighten the lug nuts crosswise using the lug wrench.
Step 11: Bed in the Brakes
After replacing the brake pads, you should carefully bed in the brakes. Avoid full braking for the first 200 kilometers (124 miles) so that the new brake pads can optimally adapt to the brake rotors.
DIY Brake Pad Replacement: Save Costs and Stay in Control
Replacing your brakes yourself can save you money compared to a repair shop. You also have the certainty that the work has been carried out carefully and with high-quality spare parts.
More Tips for Brake Pad Replacement
- Always wear gloves when working on the brakes to protect your hands from injuries and brake dust.
- When changing brake pads, also check the condition of the brake rotors. If the brake rotors are heavily worn or grooved, they should also be replaced.
- Only use high-quality spare parts for brake replacement that are approved for your vehicle model.
- If you are unsure whether you can carry out the brake pad replacement yourself, consult a professional workshop.
Frequently Asked Questions About DIY Brake Pad Replacement
Can I replace the brakes only on the front or rear axle?
Yes, you can also replace the brakes on only one axle. However, it is recommended to always replace the brakes axle by axle to ensure even braking performance.
How do I know if I also need to replace the brake rotors?
The brake rotors should have a minimum thickness, which you can find in your vehicle’s manual. If the brake rotors are thinner than the specified value or have deep grooves, they must be replaced.
Can I also carry out other repairs on my car when replacing the brakes?
If you have already jacked up your car, it is a good opportunity to carry out other maintenance work, such as an oil change or replacing the spark plugs.
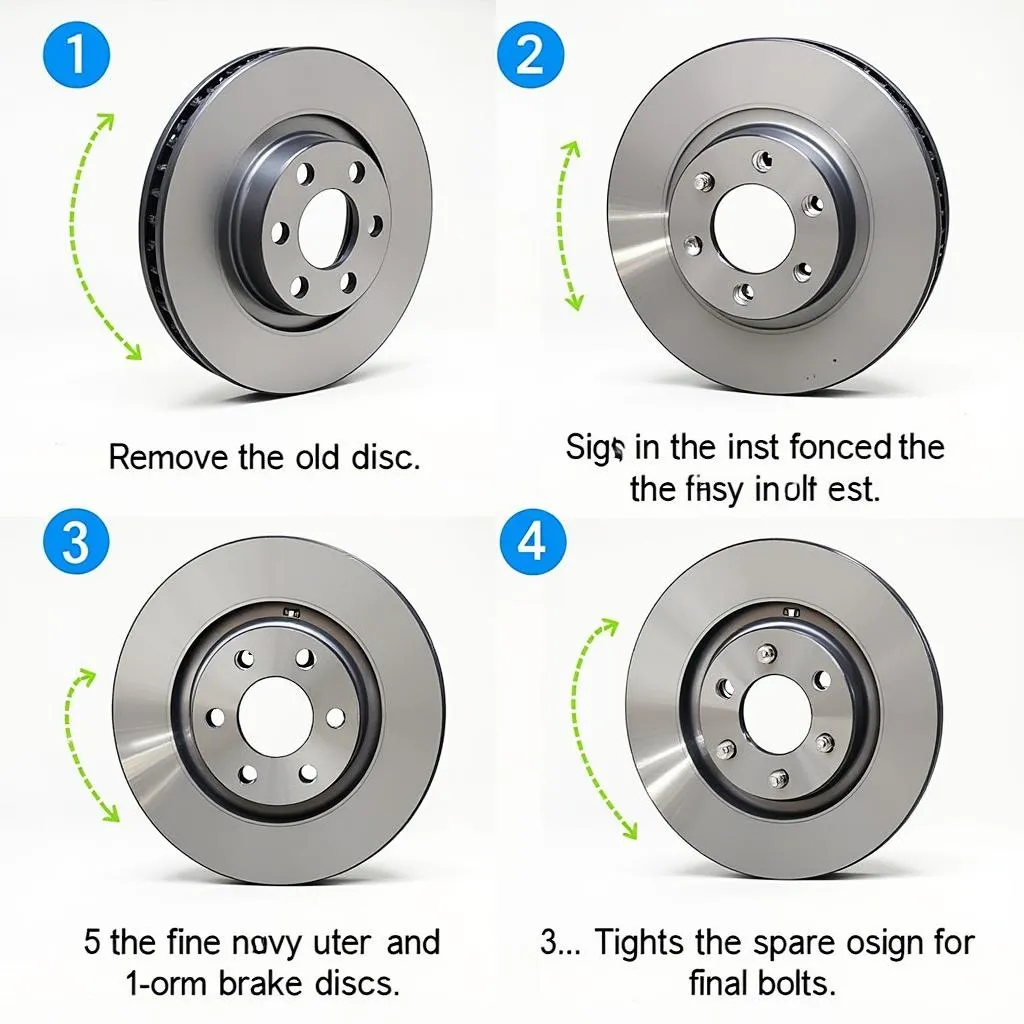 Installing new brake rotors during car brake service
Conclusion
With a bit of DIY skill and the right instructions, it’s not that difficult to change your brakes yourself. You not only save money, but also have the certainty that the work has been carried out carefully and with high-quality spare parts. However, make sure that you take all safety precautions and consult a professional workshop if in doubt.
Would you like to learn more about the costs of a brake replacement? Then visit our page Brake Replacement Cost. For specific instructions, such as changing the rear brakes on a Ford Focus, check out our article Ford Focus Rear Brake Replacement.