Connecting a 13-pin connector to your vehicle might seem daunting at first glance, but with the right knowledge and a little patience, it’s quite manageable. In this article, we’ll explain step-by-step how to connect a 13-pin connector, what functions each pin has, and what you need to pay attention to during installation.
What is a 13-Pin Connector and What is it Used For?
The 13-pin connector, also known as a trailer socket, is the interface between your vehicle and a trailer. It enables the power supply to the trailer and controls important functions such as lighting, indicators, and brake lights.
Imagine you want to go on vacation with your caravan. Without a correctly connected 13-pin connector, your trailer would not be illuminated, and you would pose a danger to yourself and other road users.
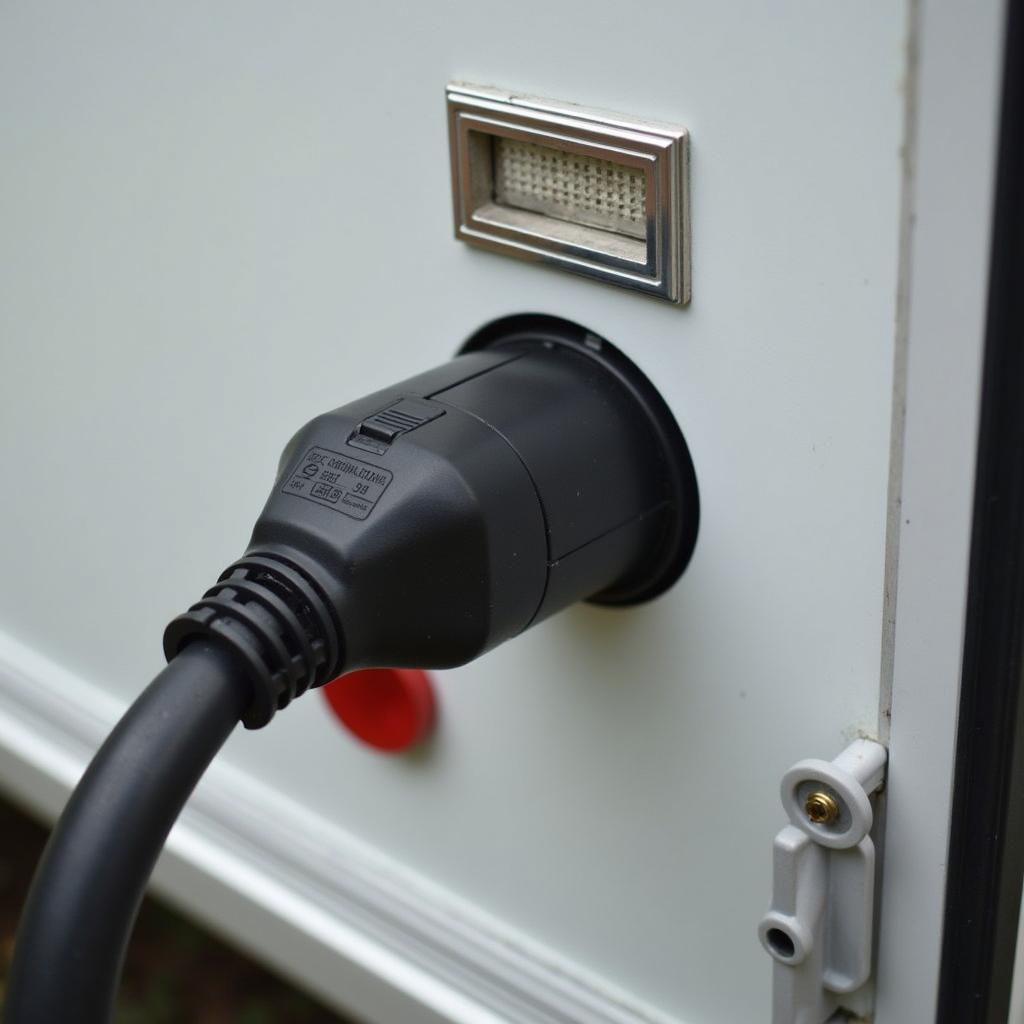 13-pin connector attached to a caravan
Pin Assignment of the 13-Pin Connector
Each pin of the 13-pin connector has a specific function. Here is an overview:
| Pin | Function | Cable Color |
|---|---|---|
| 1 | Left indicator | Yellow |
| 2 | Fog tail light | Blue |
| 3 | Ground for pin 1-8 | Brown |
| 4 | Right indicator | Green |
| 5 | Right tail light | Brown |
| 6 | Brake light | Red |
| 7 | Left tail light | Black |
| 8 | Reversing light | Grey |
| 9 | Continuous positive (e.g. refrigerator) | Violet |
| 10 | Speed signal | White/Red |
| 11 | Ground for pin 9 | Brown |
| 12 | Continuous positive (switched) | White/Black |
| 13 | Ground for pin 12 | Brown |
Step-by-Step Guide to Connecting a 13-Pin Connector
Before you start the installation, you should definitely disconnect the battery of your vehicle!
- Strip cables: Remove approx. 1 cm of insulation from the cable ends of the 13-pin connector.
- Connect cables to the pins: Connect the stripped cable ends to the corresponding pins of the connector. Make sure that the colors of the cables match the pin assignment plan.
- Insert pins into the connector: Insert the pins with the connected cables into the designated openings in the connector housing.
- Assemble connector: Put the two housing halves of the connector together and lock them.
- Check connection: Check the correct function of all lights and signals on the trailer.
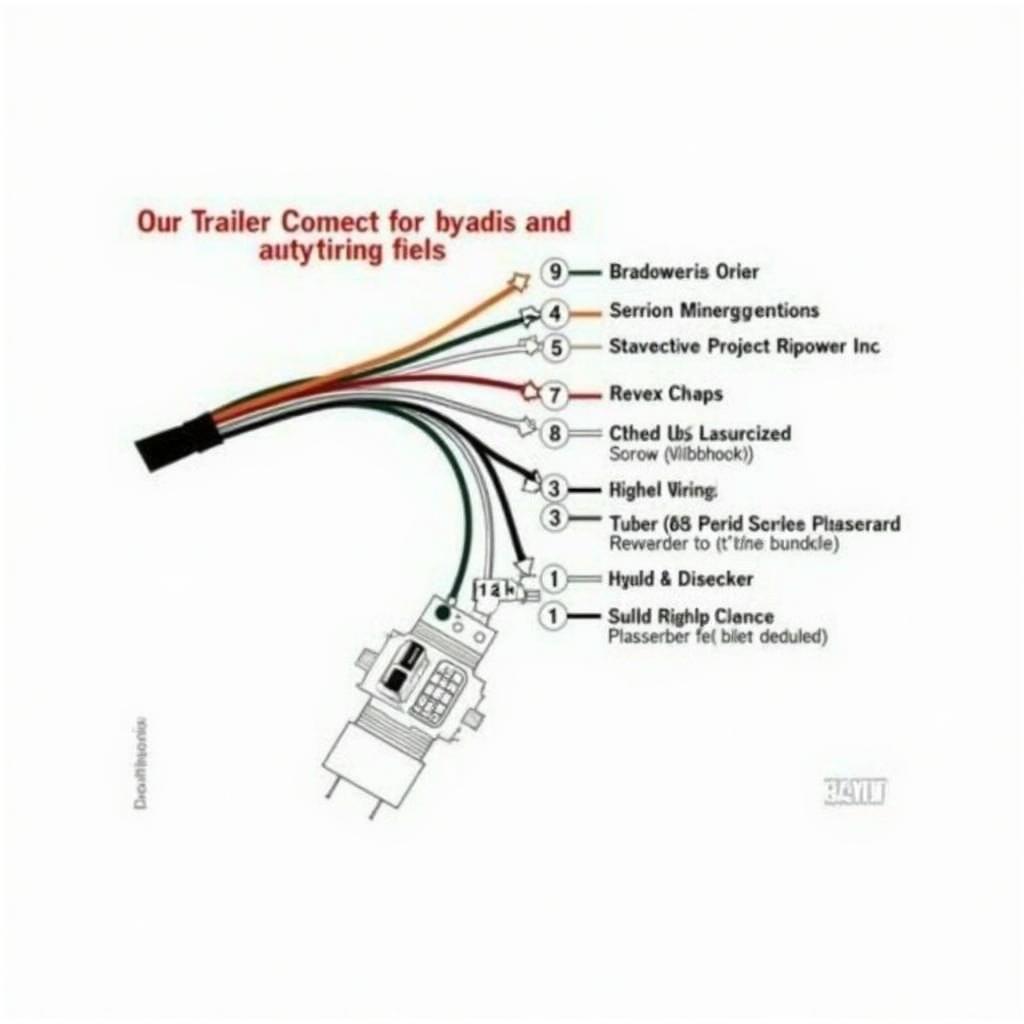 Wiring diagram of a 13-pin connector
Common Mistakes When Connecting a 13-Pin Connector
- Swapped cables: Pay close attention to the correct assignment of cables and pins according to the pin assignment plan. Swapped cables can lead to malfunctions and damage to the vehicle’s electrical system.
- Poor connections: Make sure that the cable connections are firm and secure. Loose connections can lead to intermittent contact and failures.
- Incorrect pin assignment: There are different pin assignment plans for 13-pin connectors. Make sure you use the correct plan for your vehicle and trailer.
Advantages of a 13-Pin Connector
The 13-pin connector offers some advantages over the older 7-pin connector:
- More functions: The 13-pin connector supports more functions, such as the power supply for on-board devices in the trailer.
- Higher current carrying capacity: The 13-pin connector can transmit higher currents, which is important for operating high-power consumers in the trailer.
- Future-proof: The 13-pin connector is the standard for new vehicles and trailers.
Further Questions about Connecting a 13-Pin Connector?
- How can I connect a 7-pin connector to a 13-pin connector?
- Where can I find the pin assignment plan for my vehicle?
- What is the difference between a continuous positive and a switched continuous positive?
Further information on the topic of “13-pin connector connection” can be found on our website autorepairaid.com. If you have any questions about the repair and maintenance of your vehicle, our car experts are at your disposal. Contact us now!
